
Continuous Integration for Cordova Apps
This is part one of a four part series focused on devops for mobile apps. It assumes you’ve already installed NVM, Node, NPM, Git, Gulp, Cordova and Ionic. I also recommend using VS Code for your code editor, but use whatever’s comfortable. All steps work equally well on Mac and Windows.
Why Continuous Integration?
Continuous Integration is just fancy talk for “my app builds whenever I commit my code to source control.” In theory, it enables developers to release after every commit, but that’s not why most developers use it. The truly useful thing is that you can “decorate” your build with other scripts. For example, you can auto-magically:
- Run unit, functional or UI tests to measure code quality
- Notify other team members that a build is available
- Distribute your app to beta testers
- Publish your app to the store
Imagine this: you start by working on a new feature in your personal branch. Excited to share your work, you merge with the dev branch where unit tests automatically run and pass.
Satisfied that code quality is… well, pass-able, you merge to the beta branch where your new feature is automatically distributed to beta testers for manual testing. Beta testers using Android devices notice that the layout is broken on views using your new feature, so they send feedback from within the app along with a screenshot. You fix the bug, then merge with dev and beta where unit tests and beta distribution auto-magically happen again.
Confident that your feature is ready for the public, you merge with the release branch which triggers another release. Because your app is built with Cordova, you can update without re-submitting to the app store. Your build server pushes a new release and users get a notification. “Hey, buddy. A new version is available. Update now.”
Running unit tests, distributing to beta testers, releasing bug fixes over-the-air… all these steps happen automatically when you commit to a branch under watch.
Over the next four blog posts we’ll…
- Setup continuous integration
- Distribute our app to beta testers for manual testing
- By-pass the app store to release bug fixes
- Customize our build steps to use a different config for each release type – i.e. dev, beta, release.
Get the Sample Project
Start by cloning the sample project into your local directory and restoring all the npm packages
git clone http://github.com/ryanjsalva/superfly
cd superfly
npm install
Create Your Project in VSTS
Visual Studio Team Services (VSTS) provides three basic services:
- Git-based source control
- Cross-platform build automation
- Agile team management (e.g. scrum boards, backlogs, bug tracking)
In a lot of ways, you can think of VSTS as the union between GitHub, Atlassian and Jenkins (if you’re familiar with those). By combining all three services in the same tool, we can automate a lot of the grunt work. As of this writing, it’s free for teams of 6 or less. Once you’ve logged in, you’ll see this page:
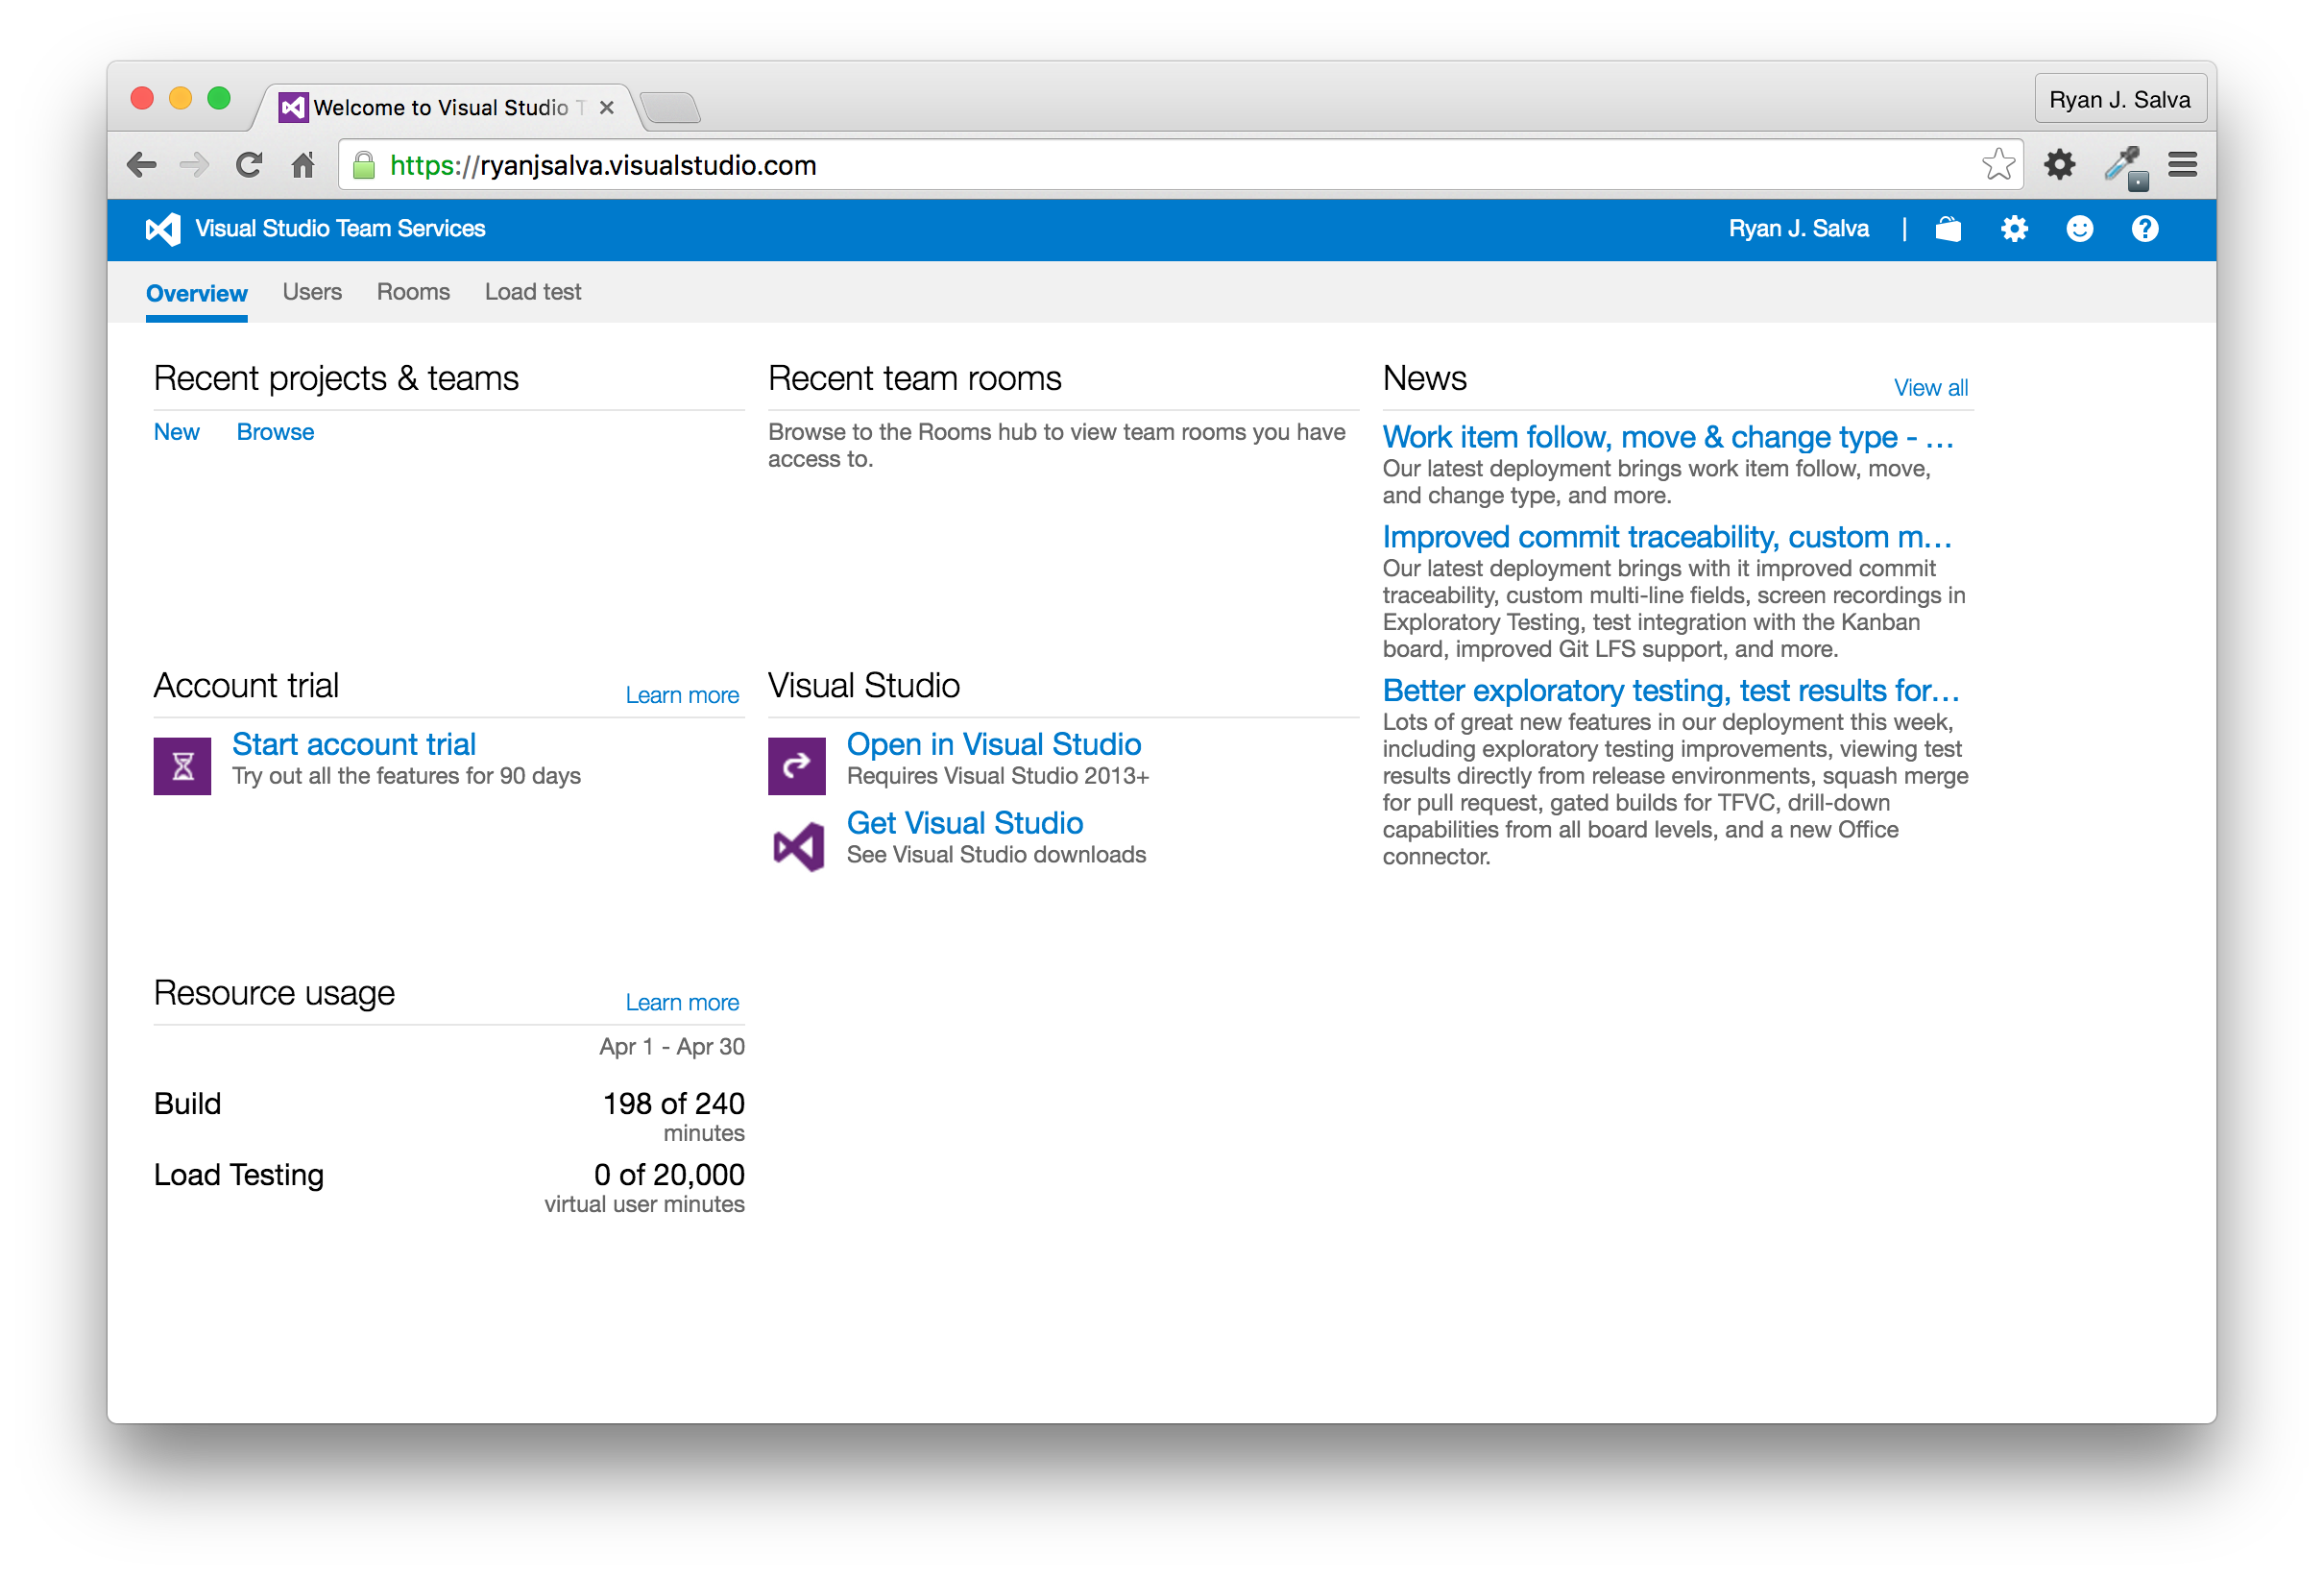
Side note: It’s almost criminal that you can get a pre-configured automated build environment for free these days. What a time to be alive.
Create a new project and name it superfly. On the next screen, choose to start by “adding code.” VSTS will provide you with a git URI that you can run in the terminal. Now we just need to push our first commit to VSTS.
git remote add origin https://ryanjsalva.visualstudio.com/DefaultCollection/_git/superfly
git commit -m "first commit"
git push
Congratulations! You’ve setup your dev environment and source control. Celebrate with an awesome song on your headphones. I recommend anything from Girl Talk’s Feed the Animals.
Let’s Get Unit Tests Running
Like most Angular projects, our sample app uses Karma and Jasmine to run unit tests found in the /tests directory. Our sample project includes a Gulp task to invoke these tests.
gulp.task('test', function (done) {
  new Server({
    configFile: __dirname + '/tests/karma.conf.js',
    singleRun: true
  }, done).start();
});
If you’re not already familiar with Gulp, it’s simply a build task manager. Using Gulp, you can create build tasks that move, concatenate, obfuscate, prettify or other wise modify files. You can see it work by opening terminal and executing gulp test
This task runs our unit tests in a headless browser called PhantomJS. If everything worked correctly, you should see the following response:
Using gulpfile ~/Desktop/superfly/gulpfile.js
Starting 'test'...
22 04 2016 21:38:37.271:INFO karma: Karma v0.13.22 server started at http://localhost:9876/
22 04 2016 21:38:37.277:INFO launcher: Starting browser PhantomJS
22 04 2016 21:38:38.398:INFO PhantomJS 1.9.8 (Mac OS X 0.0.0): Connected on socket /#WzMqeZ4EfOqhVS27AAAA with id 41819505
PhantomJS 1.9.8 (Mac OS X 0.0.0): Executed 2 of 2 SUCCESS (0.007 secs / 0.012 secs)
Finished 'test' after 1.4 s
Run Tests on Every Push
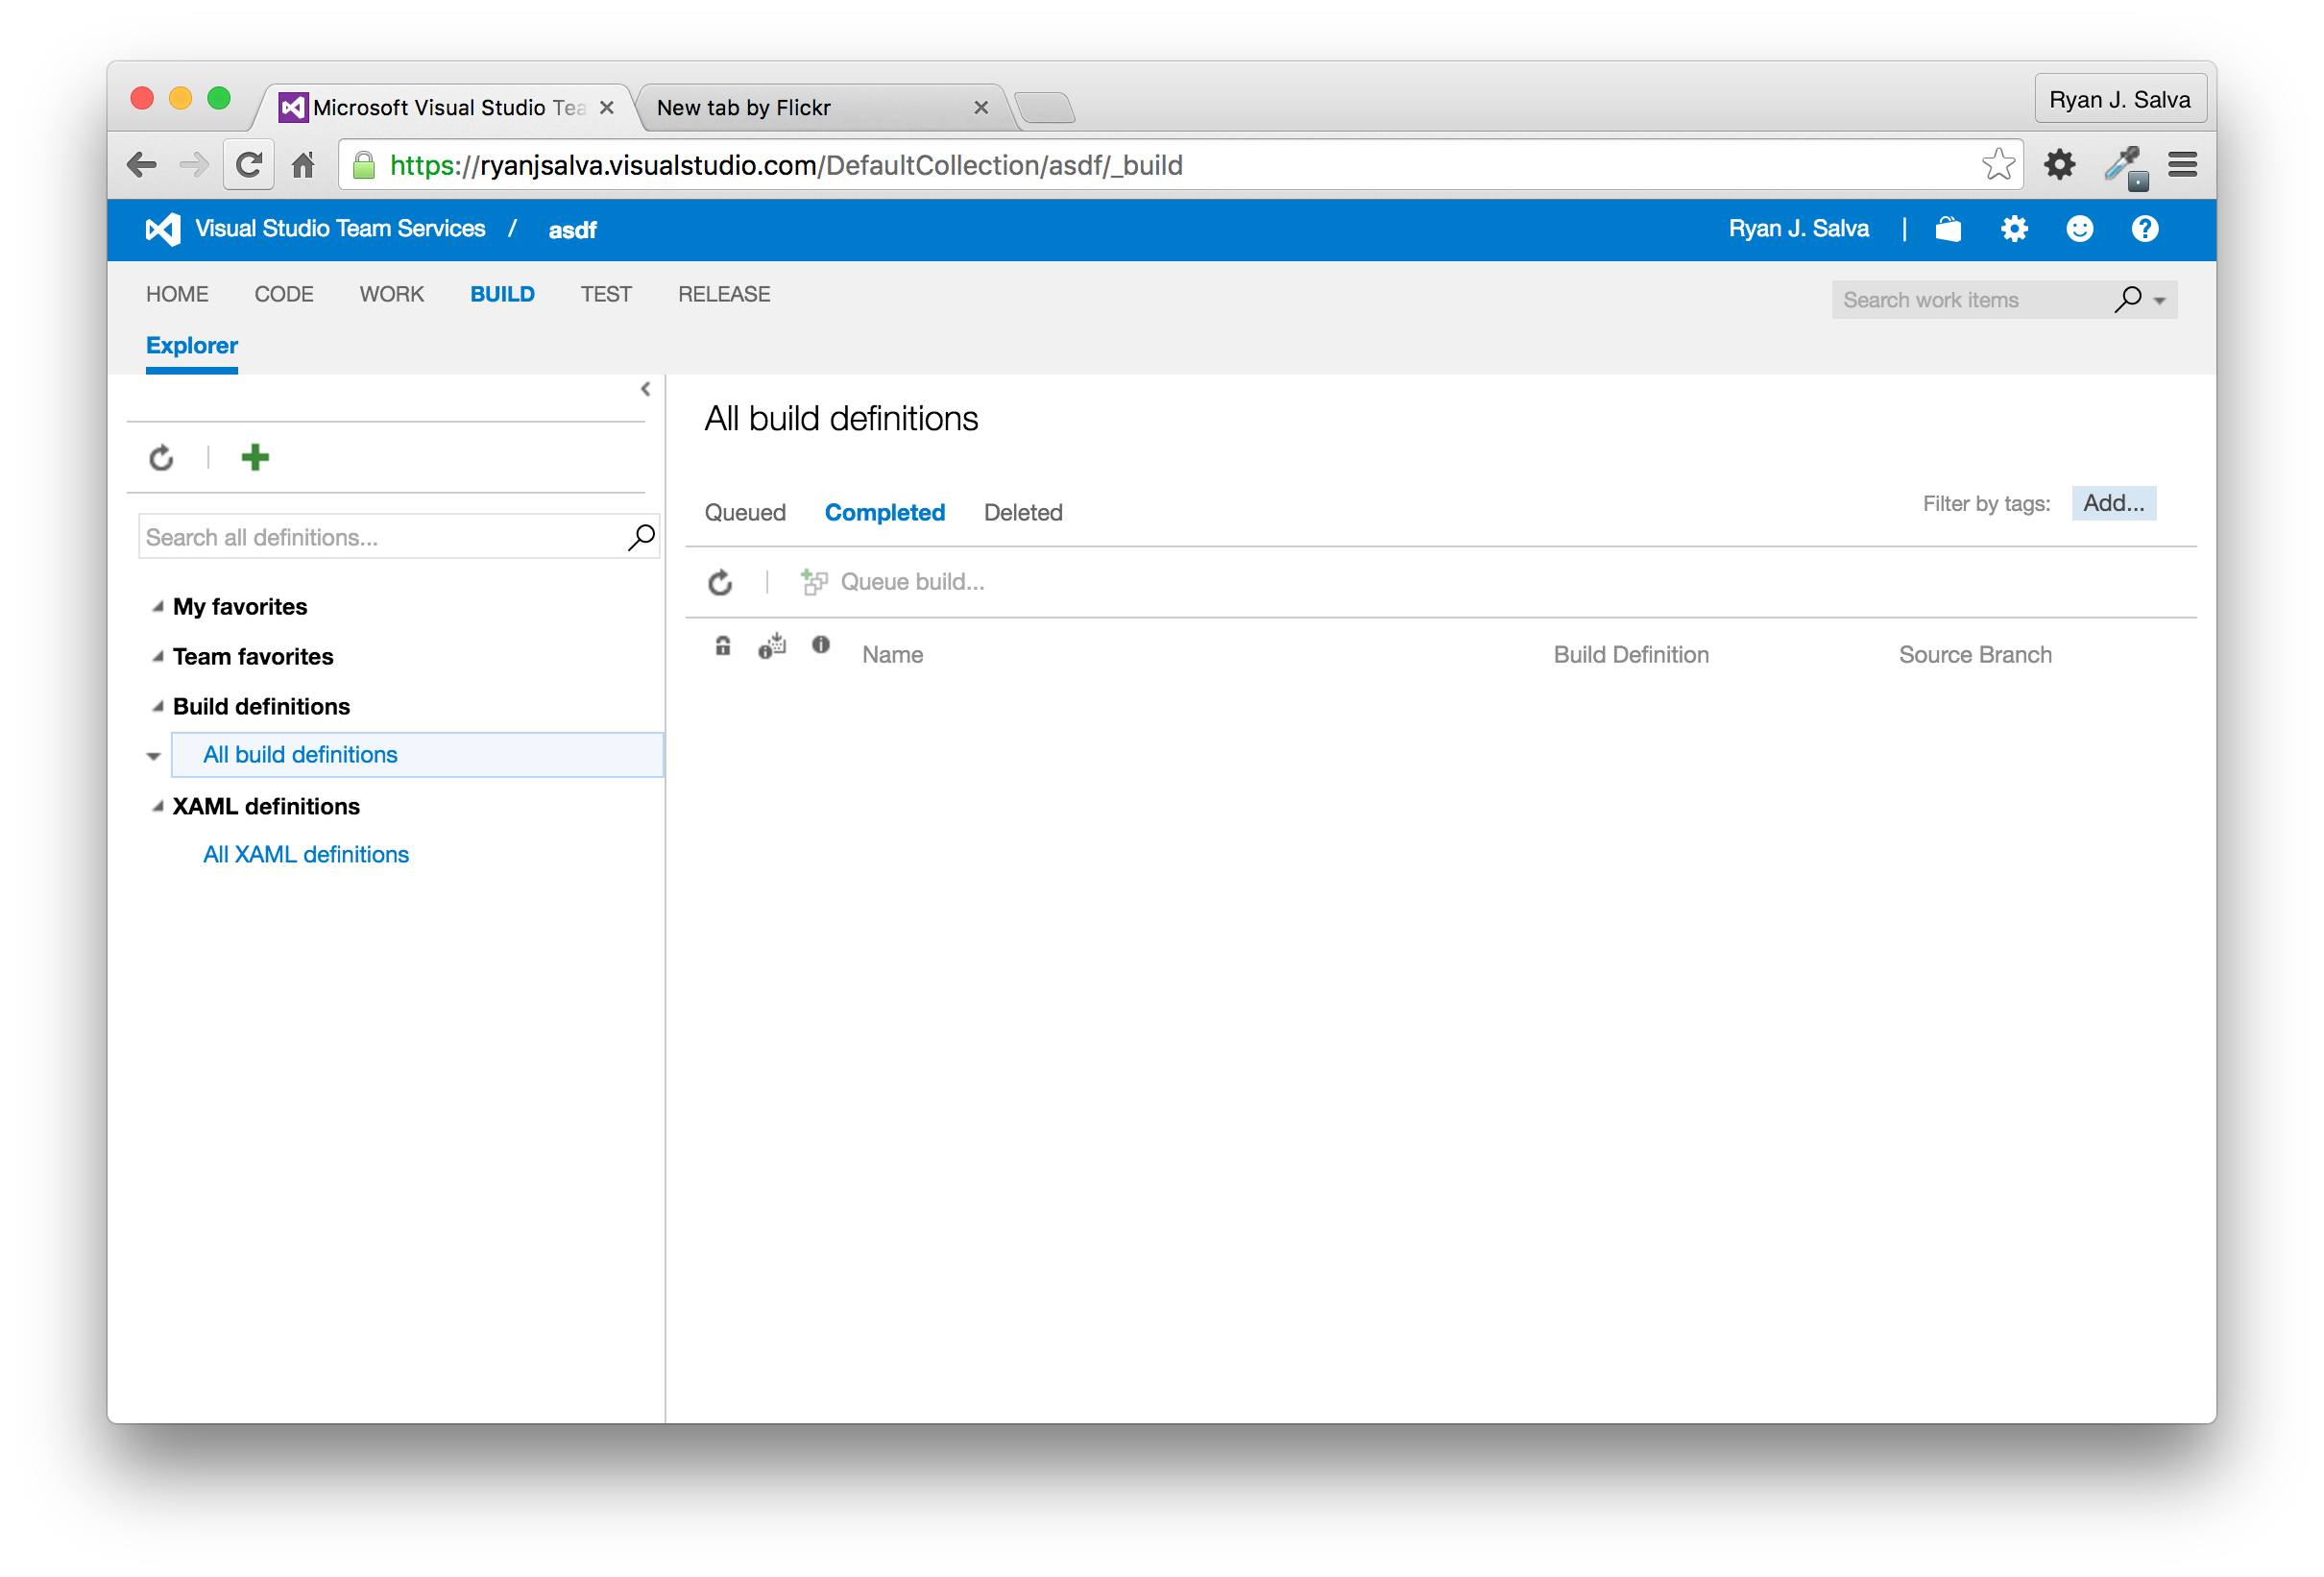
Now that we have tests running locally through a manual step, we want to run them in the cloud automatically. Head back to VSTS and click on the “BUILD” tab at the top. From here, we’ll create our first build definition by clicking the [+] icon.
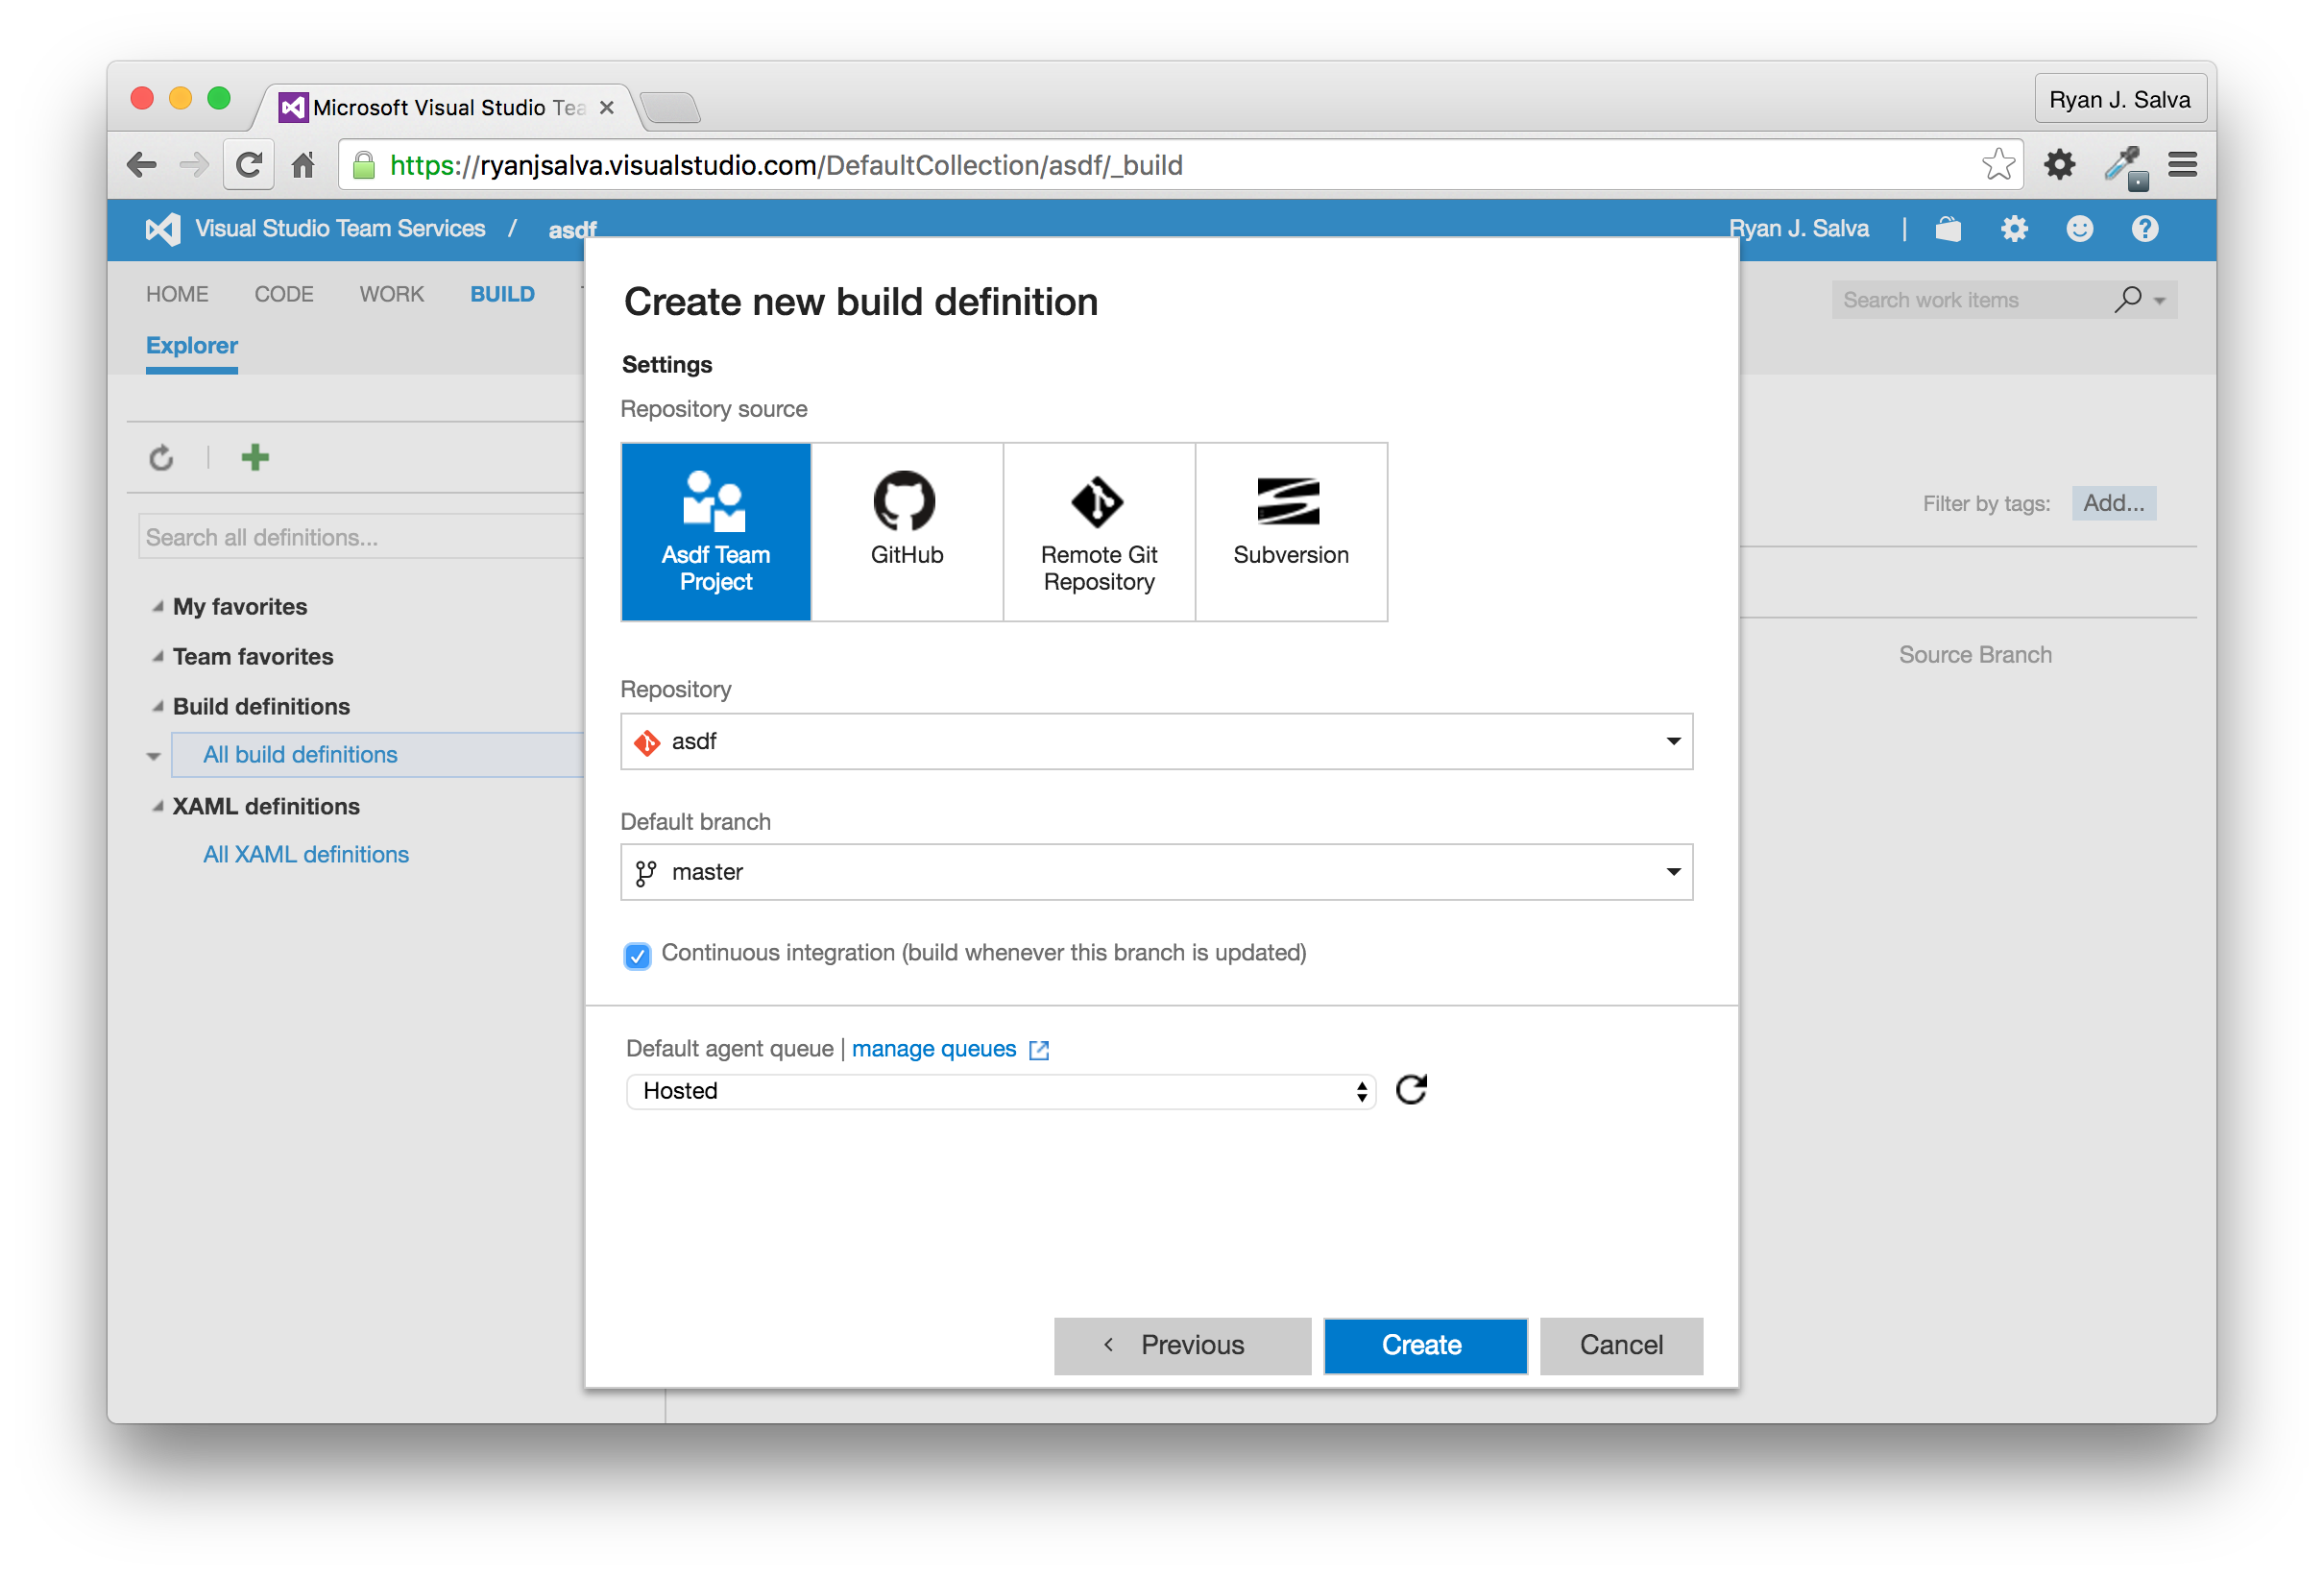
Name your build definition “Android-Build”, choose the Empty template and select the Continuous Integration checkbox since we want builds to run on every push. Otherwise, stick with the defaults.
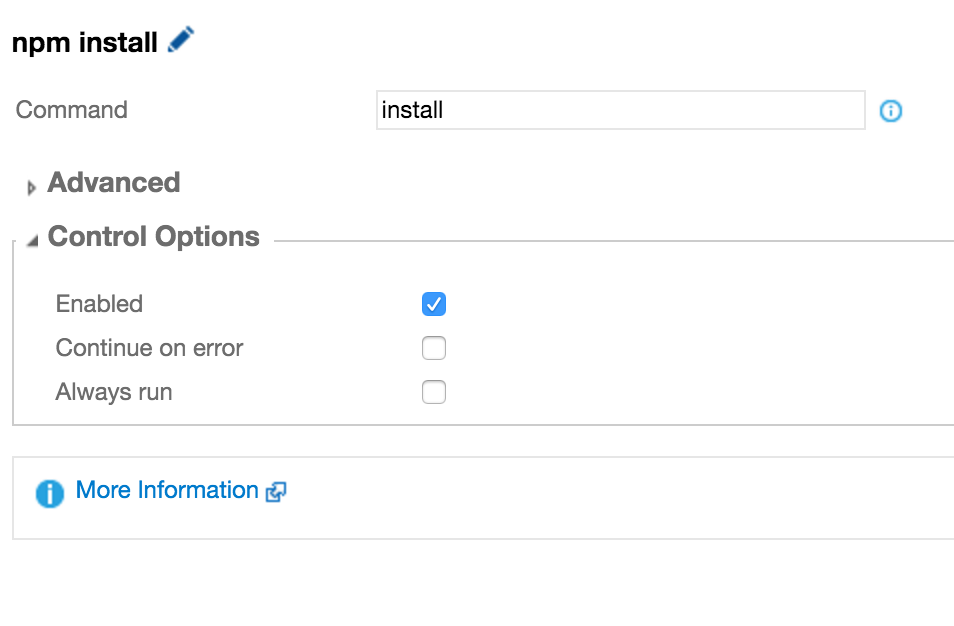
Each build definition is comprised of multiple build steps executed in serial order. Let’s add some. Click Add build step and add the following steps in this order:
- npm: to download all the node_modules not saved in our repository
- Gulp: to run our “test” task
- Cordova Build: to build the app
For the most part, you should be able to go with all the defaults. To configure each build step, select it and set the following values:

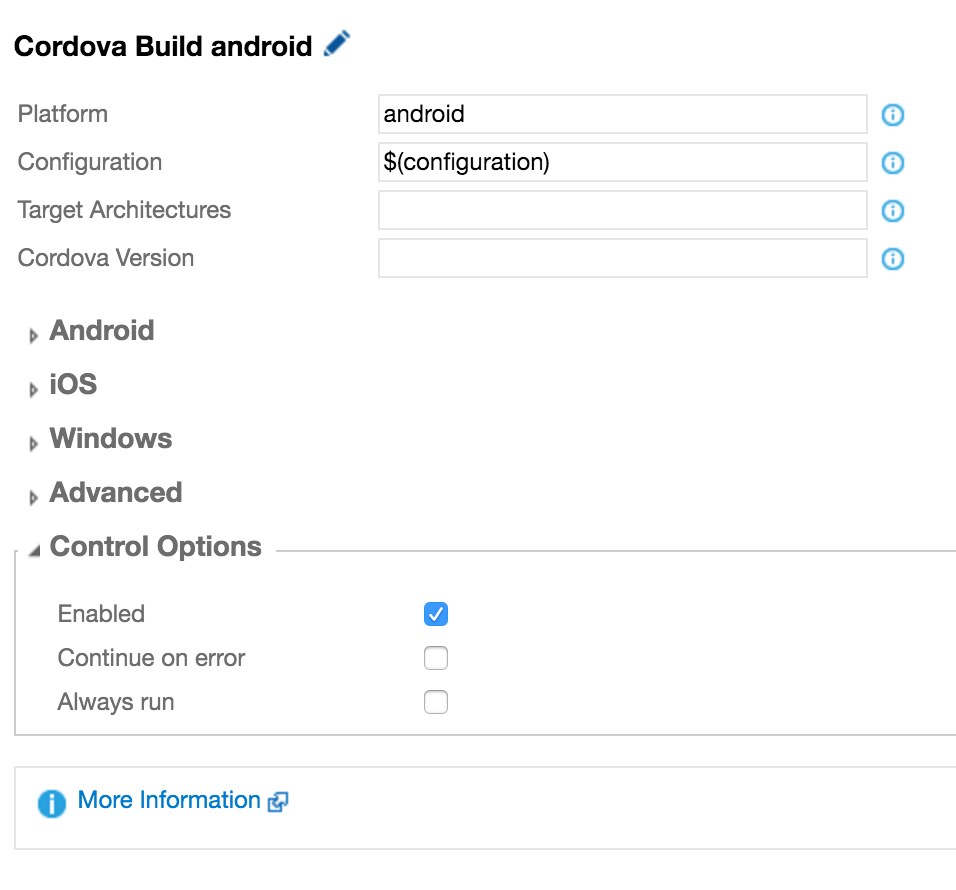
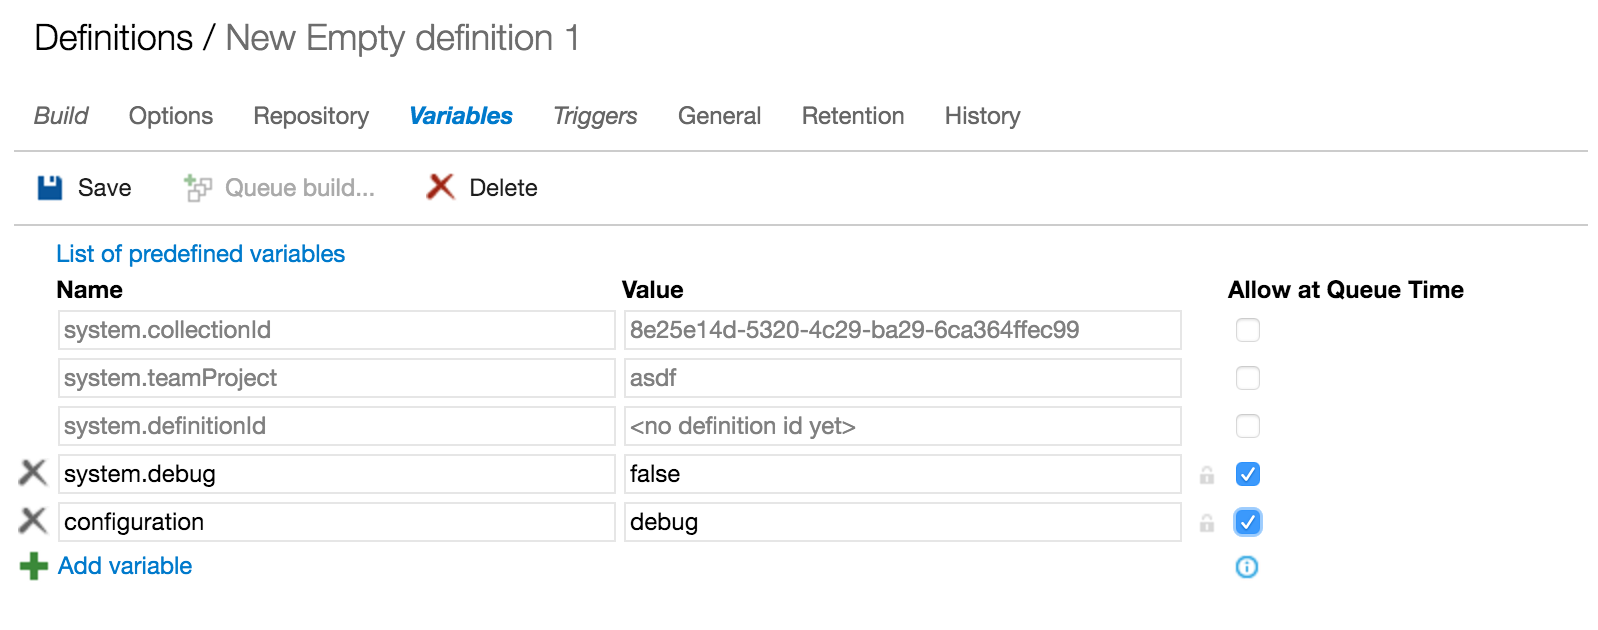
Under the Cordova Build step, notice the $(configuration) variable. This allows us to dynamically change the build configuration (e.g. debug or release) at queue time, but it requires a little extra setup. Switch to the Variables tab and add a new variable for “configuration” before clicking SAVE.
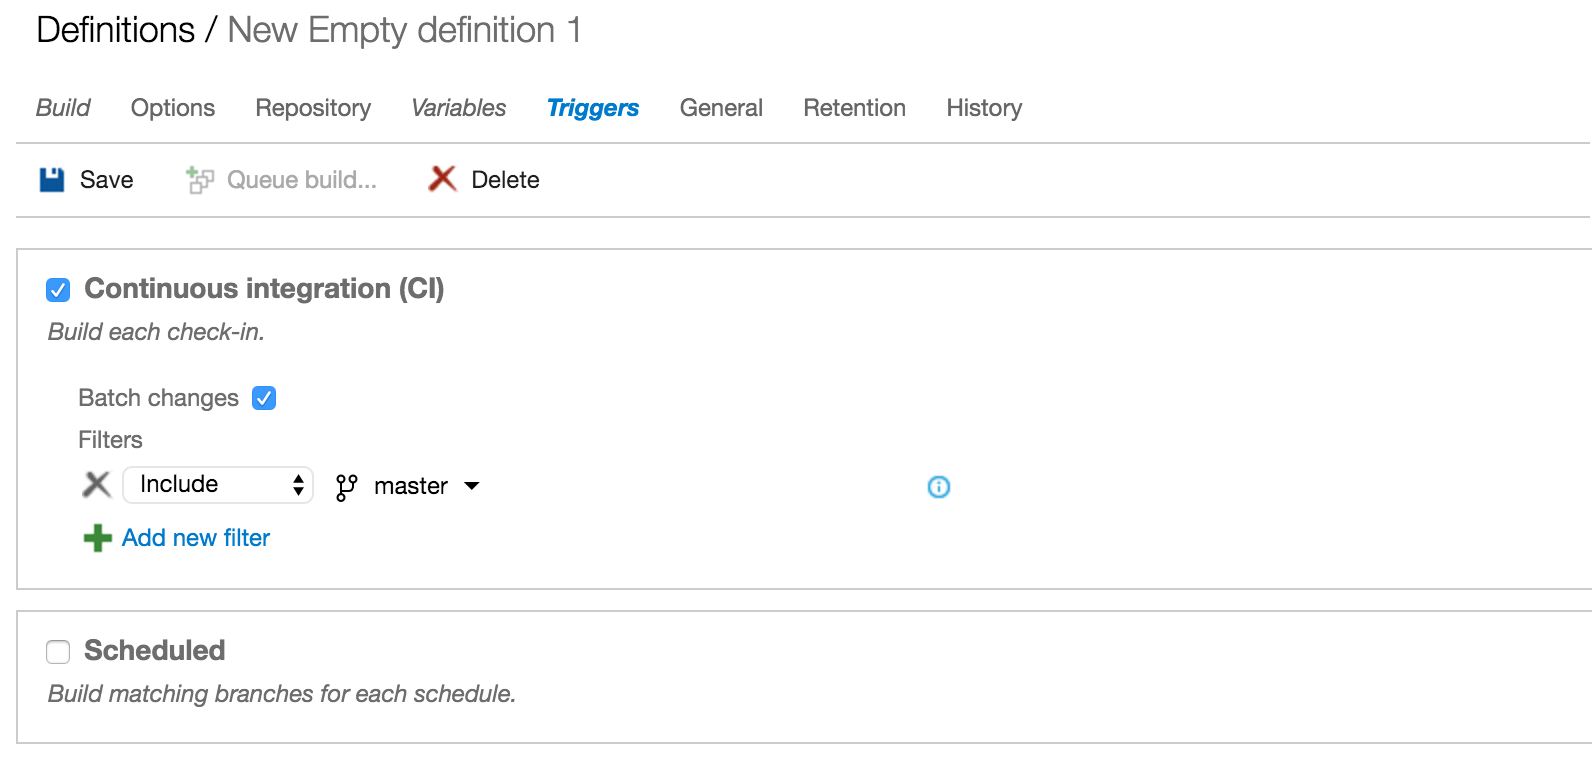
Since we’re here, we might as well take a look at some of the other interesting fields, though no changes will be required. Under the Triggers tab, we see that new builds will be triggered every time there’s a push to the master branch.
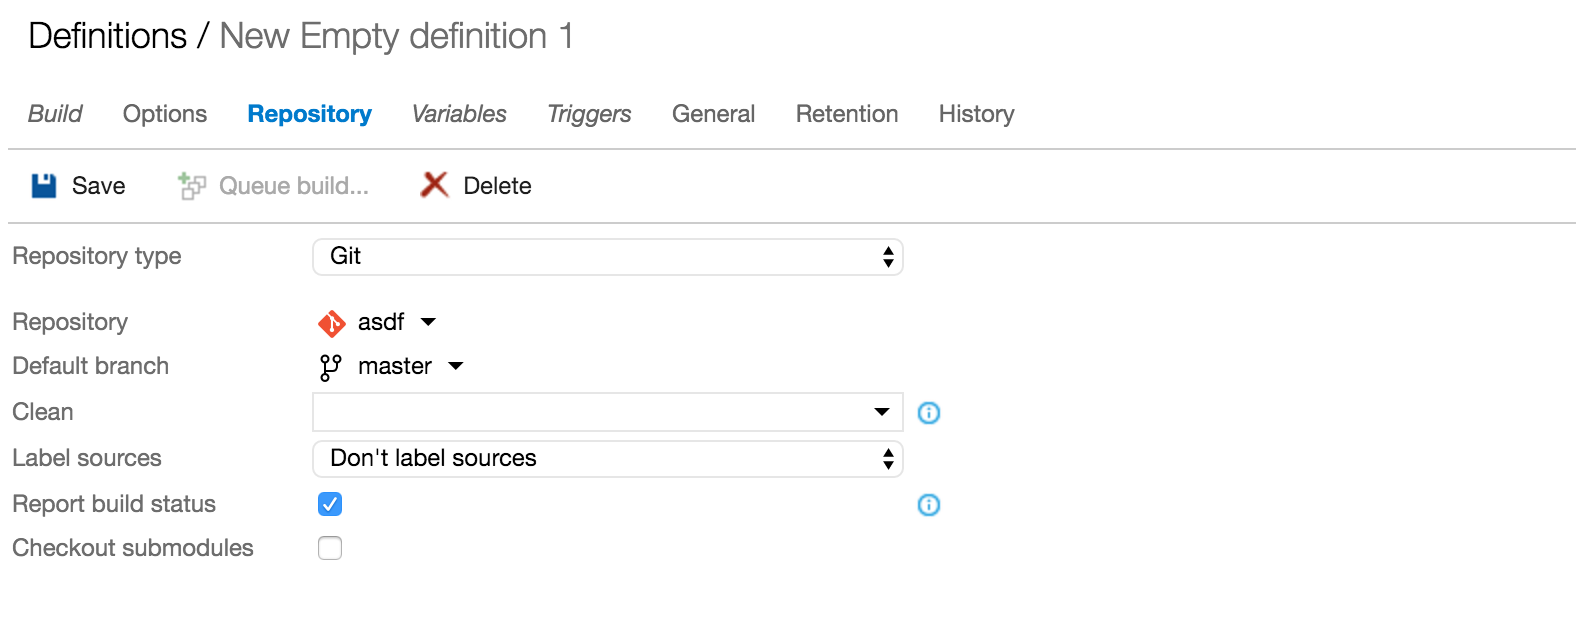
Under the Repository tab, we see that new builds will also use source from the master branch.
If you haven’t already, click SAVE so that we can trigger our first CI build. Go back to terminal, and commit a change:
touch readme.md
git commit -m "created empty readme"
git push
You can see your build spool by clicking Builds, then navigating to the Queued tab and double-clicking the queued build.
When it’s all done, you should see a build progress report declaring success. Celebrate with another song in your headphones. I recommend “I Don’t Want to Get Over You” by the Magnetic Fields.